Sketch.
< Vinyl Sketch
Vinyl Computer Decal.
|
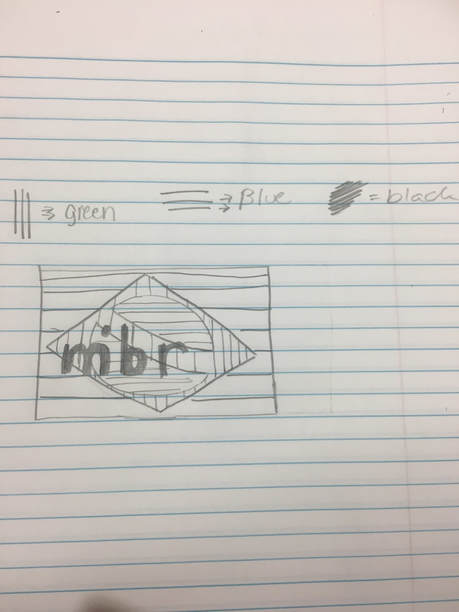
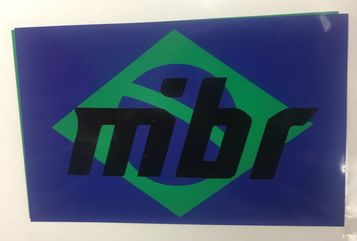
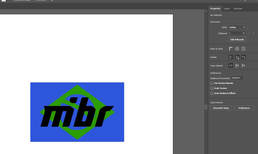
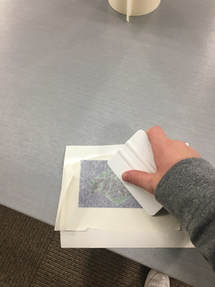
For the first step in this new rotation, which is the vinyl rotation, I had to create a 3 layered and 3 colored design to put somewhere. I chose to use it as a decal for my computer back home. To start off, I had to find three images. Once I found my three, I colored them all different and layered them in illustrator to my liking. Next, to cut out all of the pieces separately, I had to ungroup the images and move them so that they wouldn't overlap. Once I had done that, i needed to export the Illustrator file. I needed to downgrade the file to the version that was used on the laptop because it was an later version (of Illustrator) and some things may have been redone if it was loaded into a later version. The white screen shows where I selected the image that I wanted to be cut out and where I selected the color for the vinyl. For example, when I printed out the "mibr" logo, I loaded black vinyl into the cutter so that would be the color that the words would be. Same for the other photos. Once that was done I hat to use the transfer tape and layer them. The final pictur is my finished product. I believe that I did ver well on this project.
|

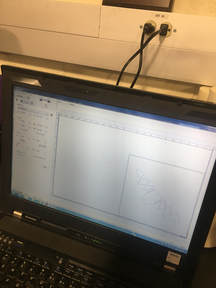
Using the Vinyl Cutter.
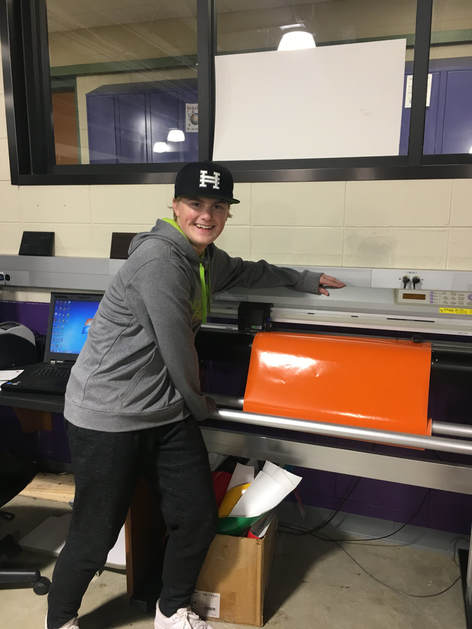
here I am using the vinyl. disregard the fact that my vinyl has no orange in it. oooooooo
Summary.
In summary, the vinyl was actually one of the easier rotations of this cycle. Even though it was easy to make, it was also fun to make. I was really cool to watch the vinyl cutter work so fast and so accurately. There was one hiccup in the software but I fixed that really quick. Overall, this was a fun little rotation that de-stressed me because of how much easier it was than the laser cutter.
